
TL;DR: eTravel is the Philippines’ free, mandatory arrival registration at etravel.gov.ph, and every foreign visitor flying into Cebu (or anywhere else in the country) needs one. Fill it out within 72 hours before you land — your passport, flight details, and Philippine accommodation address are all you need, and it takes about 10 minutes. It costs ₱0; any site charging you a “processing fee” is not the government system. Foreign tourists don’t need to register again when they leave. Verified July 2026.
If you’re flying into Mactan-Cebu International Airport, eTravel is the one piece of paperwork you can’t skip — and the one scammers most love to copy. It’s the Philippine government’s single online form for arrival registration, replacing the old paper arrival card and health declaration with one digital submission that immigration and quarantine officers pull up when you land. This guide walks through exactly when to fill it out, what information you’ll need, what the QR code you get afterward actually means, and how to make sure you’re on the real government site and not one of the several paid copycats that show up in search results. It applies whether you’re on a short holiday, visiting family as a balikbayan, or connecting straight through to Cebu’s beaches and waterfalls — see our Philippines visa-free entry guide for the separate question of how long you can stay.
eTravel at a Glance
| Official site | etravel.gov.ph only — check the URL ends in .gov.ph |
| Cost | Free (₱0). No legitimate site charges a fee |
| Who registers | All arriving foreign passengers and Filipino citizens (crew included) |
| When to register | Within 72 hours before your arrival flight lands |
| What you need | Passport, flight details, Philippine accommodation address, working email |
| Time it takes | About 10 minutes per traveler |
| Departure registration | Required for Filipino citizens only — foreign tourists skip it |
| Confirmation | QR code emailed to you; a phone screenshot is enough |
Verified July 2026.
What Is eTravel and Why Does It Exist?
eTravel is the Philippines’ combined arrival registration, replacing the separate paper arrival card and health declaration card that used to get handed out on the plane. It’s run jointly by the Bureau of Immigration and the Bureau of Quarantine, and it feeds both agencies the same submission so you’re not filling out the same information twice at the airport. It went live in December 2022 and, as of mid-2026, is still mandatory for every arriving passenger.
The form collects the basics: who you are, how you’re arriving, where you’ll be staying, and a short health declaration (recent illness, countries visited in the last 30 days). None of it requires uploading documents or photos — you’re typing information you already have on your boarding pass and hotel booking.
When Do You Fill It Out?
You can only submit eTravel within 72 hours (3 days) of your arrival, and the system will reject submissions made earlier. That means you shouldn’t try to knock it out a week before your trip — the form simply won’t accept it. The best time is the evening before you fly, or once you’ve checked in for your last connecting flight and know your exact arrival time.
If you’re on a multi-leg trip (say, flying into Manila and connecting to Cebu), register using the arrival details for your first Philippine entry point, since that’s where you’ll actually go through immigration.
What Information Do You Need?
Before you sit down to fill it out, have these four things ready:
- Your passport — for your name exactly as printed, passport number, nationality, and date of birth.
- Flight details — airline, flight number, and your arrival date and time.
- A Philippine accommodation address — your hotel name and address, or the address of family or friends you’re staying with. If you’re bouncing between hotels, use your first night’s address.
- A working email address — your QR code and confirmation get sent here, and you’ll need it again if you ever have to log back in and correct something.
You’ll also answer a short health declaration (recent symptoms, recent travel to countries with active outbreaks) as part of the same form — there’s no separate document to fill out for this.
How Do You Actually Register?
Go to etravel.gov.ph, create an account with your email, and fill in your personal details, then your arrival details. Step by step:
- Visit etravel.gov.ph and start the registration (or sign-in if you’ve registered before — the system remembers your personal details for next time).
- Verify your email with the one-time code it sends you, then set a password.
- Enter your personal information: full name, sex, date of birth, citizenship, passport number, and contact number.
- Fill in your arrival details: flight number, arrival date and time, and your Philippine accommodation address. You’ll also select your travel purpose (tourism, business, returning resident, and so on).
- Complete the health declaration questions.
- Review everything — especially your flight number and passport number — and submit.
- You’ll receive a QR code by email. Screenshot it; printing isn’t required.
One account holder can add family members traveling together without giving each child or spouse a separate login, which saves time if you’re traveling as a group. Friends or colleagues traveling together each need their own individual account.
What Does the QR Code Color Mean?
A green QR code means you’re cleared to go straight through the express immigration lane with no further questions. A red QR code means something in your submission — usually a health declaration detail — needs a manual look from the Bureau of Quarantine before you proceed to immigration. A red code isn’t a red flag for denial of entry; it just adds a short counter check. In practice, most tourists with straightforward bookings and no recent illness get a green code and barely notice the process at the arrival hall.
Do You Need to Register Again When You Leave?
No, not if you’re a foreign passport holder. The departure side of eTravel currently applies only to Filipino citizens leaving the country — foreign tourists register once, on arrival, and that’s it. If you’re a balikbayan or dual citizen, check the current departure rules on etravel.gov.ph before your return flight, since that requirement is aimed specifically at Filipino travelers.
Beware the Paid Copycat Sites
The only official eTravel site is etravel.gov.ph — anything charging a “registration fee” or “service fee” is not the government system. Search for “eTravel Philippines” and you’ll find a cluster of commercial-looking sites with near-identical names and layouts, some of which charge a fee to “process” your registration for you. The Bureau of Immigration has repeatedly warned that eTravel registration is free and does not require any online payment, and that fee-charging sites should be reported to the Cybercrime Investigation and Coordinating Center.
Before you enter any personal or passport details, check that the address bar reads etravel.gov.ph exactly, with no extra words before or after “etravel” in the domain. If a site asks for a credit card before you can register, close the tab.
The Honest Take
eTravel takes maybe 10 minutes once you have your flight and hotel details in front of you, and it’s genuinely one of the easier pieces of Philippine travel bureaucracy — a big improvement over the old paper cards that used to get handed out mid-flight. The friction isn’t the form itself, it’s the flood of copycat sites trying to charge for something that’s free, and the 72-hour window catching out travelers who try to get it done too early. Do it the night before you fly or right after your last check-in, screenshot the QR code, and you’re done — no need to print anything or stress about it at the arrival hall.
Pair it with the actual entry rules — how long you can stay and whether you need a visa — in our Philippines visa-free entry guide, and if you end up staying longer than planned, see extending your visa at the Cebu Bureau of Immigration office. Once you land at Mactan-Cebu International Airport, the rest of the arrival process is straightforward — check our what to pack for Cebu list so you’re not scrambling at the last minute, and if you have a few hours before your next flight or transfer, the historic Mactan Shrine is a short ride from the terminal.
Sources
- eTravel — Philippine Travel Information System (official)
- eTravel Frequently Asked Questions (official)
- The Poor Traveler — How to Accomplish eTravel Form for Philippine Departure and Arrival
- Registration steps, fields, QR code colors, and the free-of-charge and 72-hour-window requirements verified against the official eTravel FAQ and first-hand 2025–2026 traveler reports. Verified July 2026.
Book Tours & Hotels for This Trip
Find and book the best deals — prices and availability update in real time. Links open in a new tab.
Where to stay near Lapu-Lapu City
Top-rated hotels for this trip — tap through to check live rates.
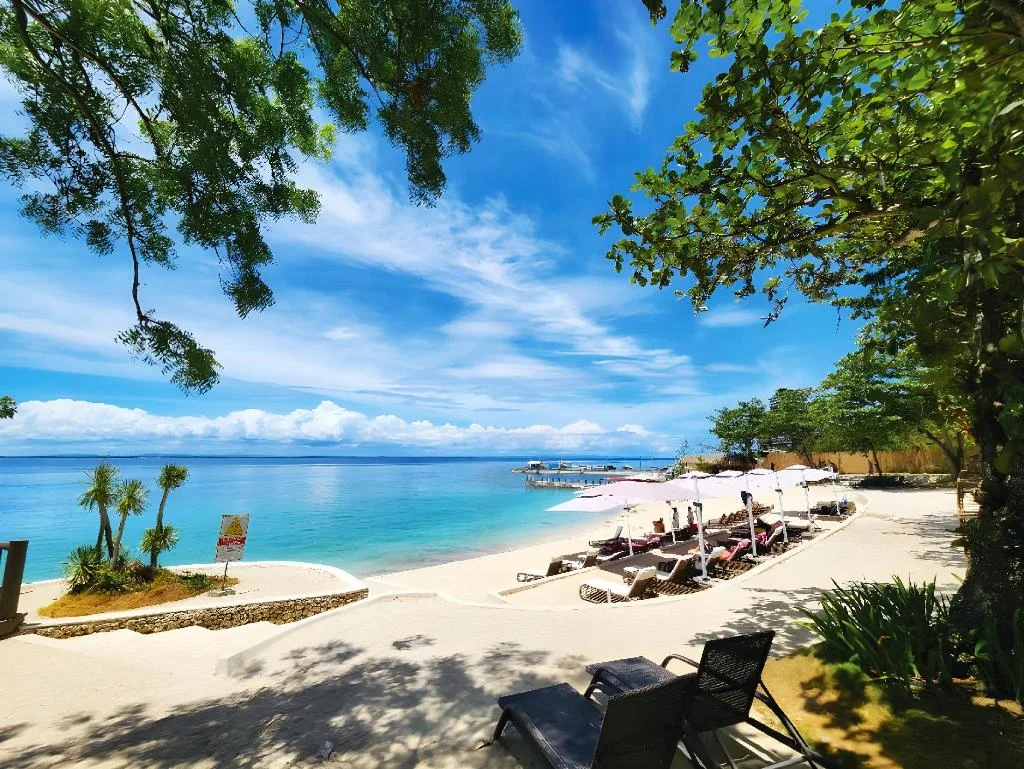
Mercure Mactan Cebu

Public House Hostel
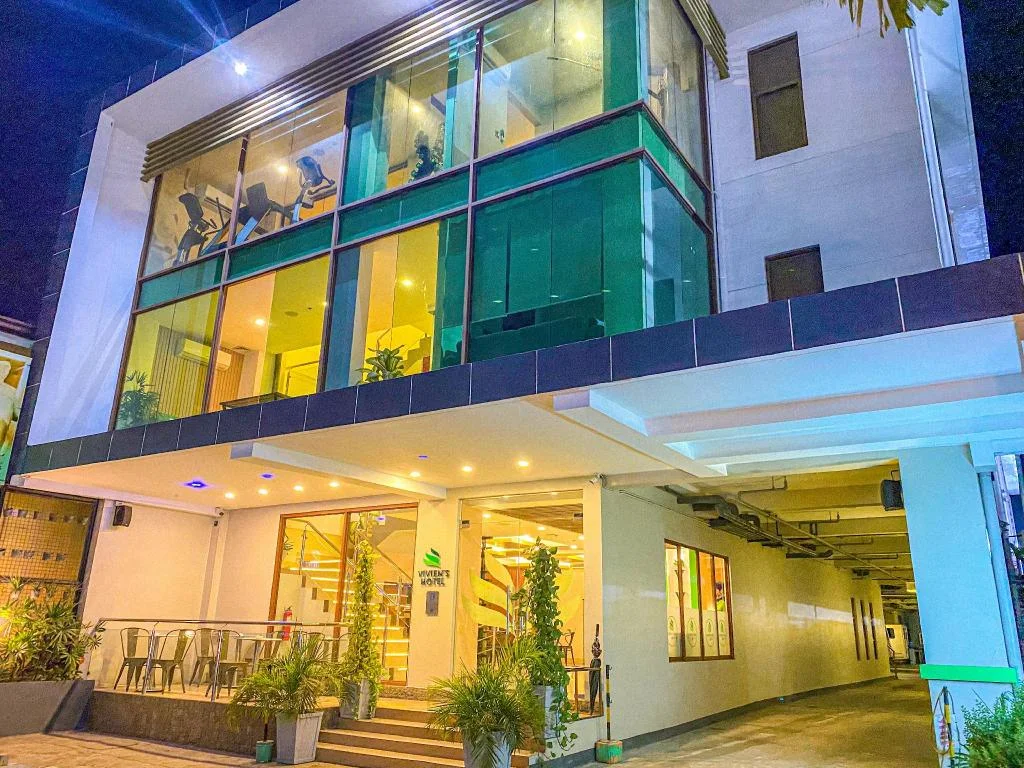
Vivien's Hotel
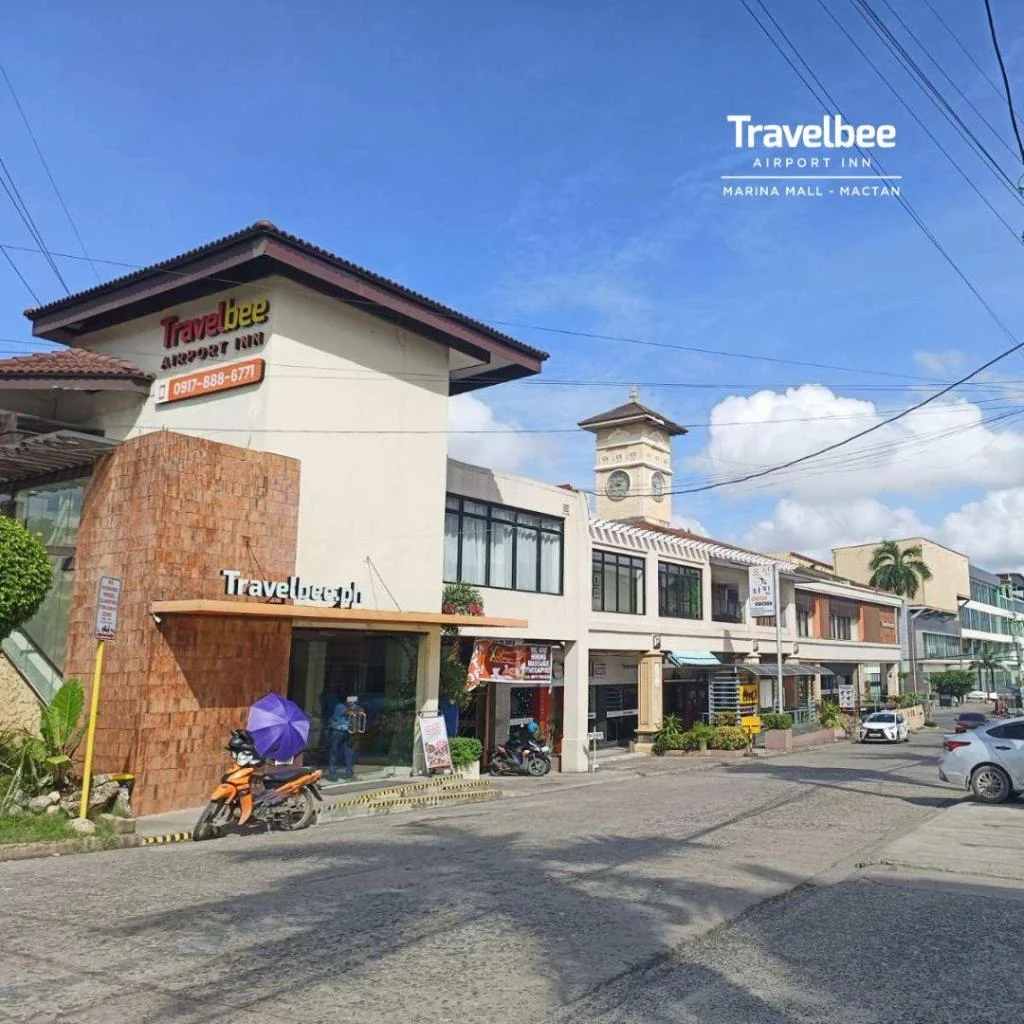
Travelbee Airport Inn
Prefer a rental? Vacation rentals near Lapu-Lapu City
Self-catering condos and apartments — book the exact unit, kitchen included.

ClockWorkOrange Luxury Suites
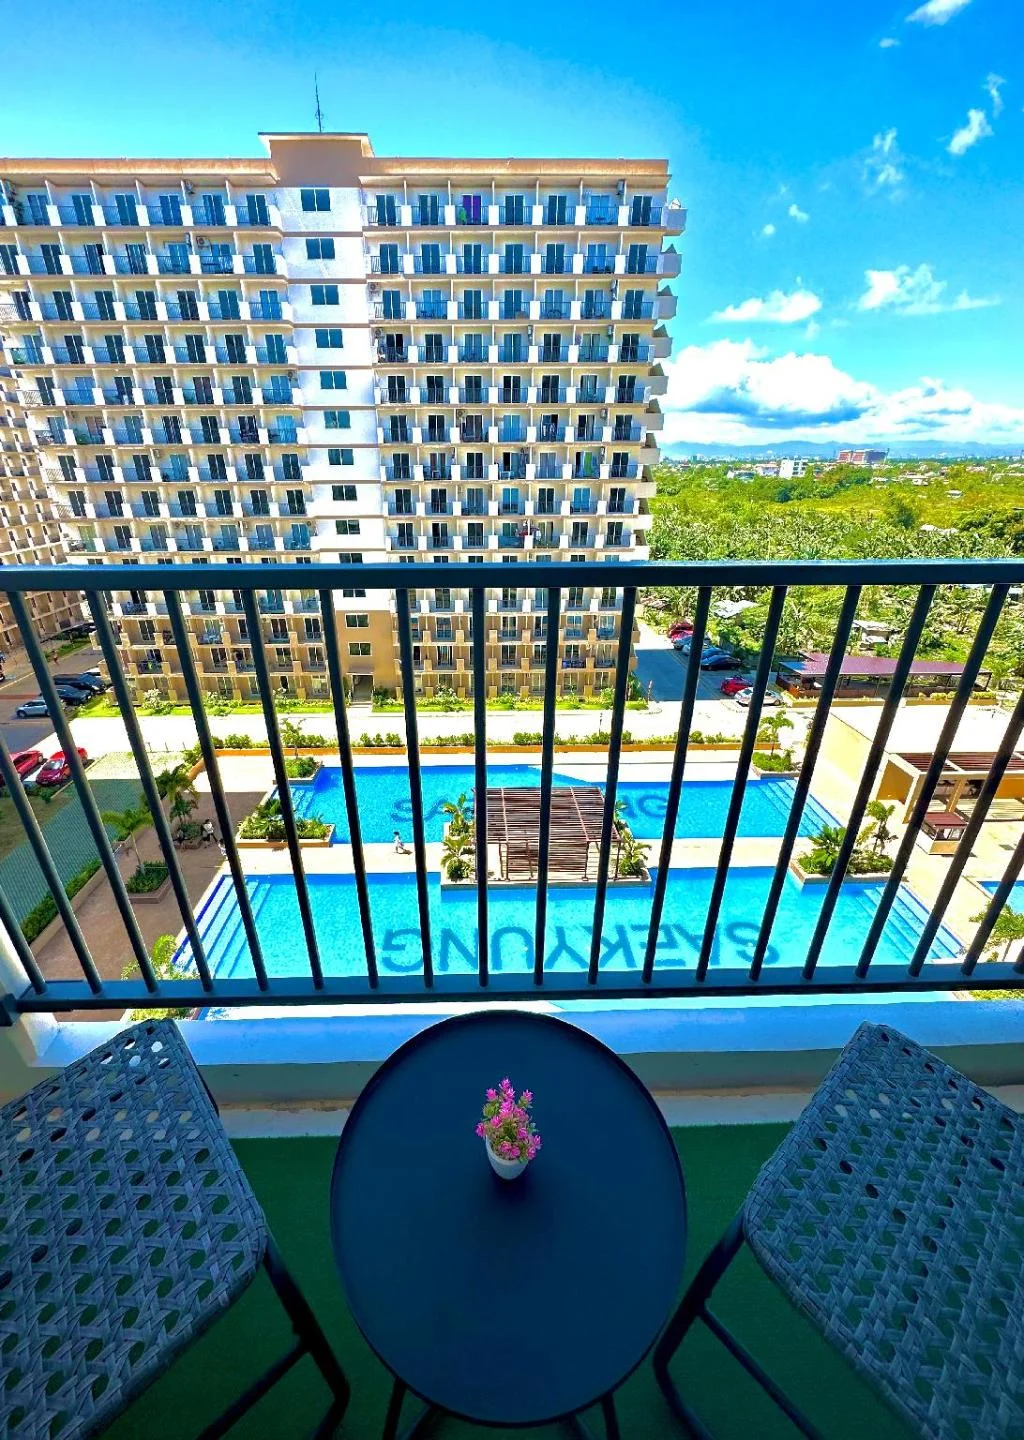
Condo with POOL/BALCONY/KITCHEN/NETFLIX/HOT SHOWER

JeeCee Homes condo near Cebu Mactan Airport
Before you go